DIY Maternity Photoshoot and Pose Ideas
Disclaimer: This post may contain affiliate links. When you shop the links, I receive a small commission at no additional cost to you. As an Amazon Associate, I earn from qualifying purchases.
Getting ready for maternity photos? I picked easy poses we ended up loving and did this entire shoot for $0! Whether you’ve hired a professional or are DIY-ing this photoshoot, I’ve got the pose ideas and tips for you.
Currently, I’m about 37.5 weeks pregnant. About two weeks ago I decided that I did want to take maternity pictures after all. Being it so last minute, there was no time to hire a photographer (and we really didn’t want to spend the money on one, either).
5 Key Tips for Planning DIY Maternity Photos on a Budget
I love a good challenge to save money on things that could really cost a fortune so I got very creative to achieve these photos for a grand total of zero dollars! Curious how I did it? Here are 5 tips.
1. Pick the Perfect (free!) Location
Don’t just try to do these in your backyard. It will be so hard to find backdrops that you like. What we did was look through maternity photos others in our town had taken with professionals and looked at their tagged location to see where they went (or if it’s not listed you can DM the person and ask where they took the pics!).

Ultimately, we decided on the location we used for our engagement photos a couple years back. We knew we liked the lighting, it was free, and we were comfortable going there.
2. Borrow A Dress From a Friend/Buy Secondhand
Borrow a dress from a friend who recently had a baby (what I did!) or buy one for a discount off Facebook Marketplace, Poshmark, etc.
The thing about maternity dresses is that once the baby is born and the bump is gone maternity dresses tend to just sit in closets. Even if they have another baby, by then their style may have changed or it will be years from now and they won’t be interested in wearing it again.
Most people are more than willing to let you borrow a maternity dress or buy it for a cheap price if you just ask!
3. Save or Screenshot Poses to Bring to the Shoot
I saved probably 30 poses or so onto my phone of maternity poses I liked. Hint Hint – you can just save this post to scroll through the different poses during the shoot!
The benefit of having a photographer is they will “pose” you so if you are DIY-ing this, you need to be prepared with pose ideas of your own.
4. Ask a Sister or Friend to Take the Photos
My sister offered to take these pictures! She doesn’t have any photography background so I was really impressed with how these ended up turning out.
You can ask a friend, sibling, mom, or neighbor to take the pictures for you. If you can’t find anyone, a tripod might also work!
5. Edit the Pictures Yourself
By adjusting two settings, you can make photos look a bit better. Turn up the brightness or exposure just a smidge along with the saturation. That’s pretty much all we did with ours!
10+ Maternity Picture Pose Ideas
Here are the pose ideas we ended up attempting (that turned out really nice!) that you can totally try to recreate yourself. Show your photographer these if she’s asked for you to save a few.
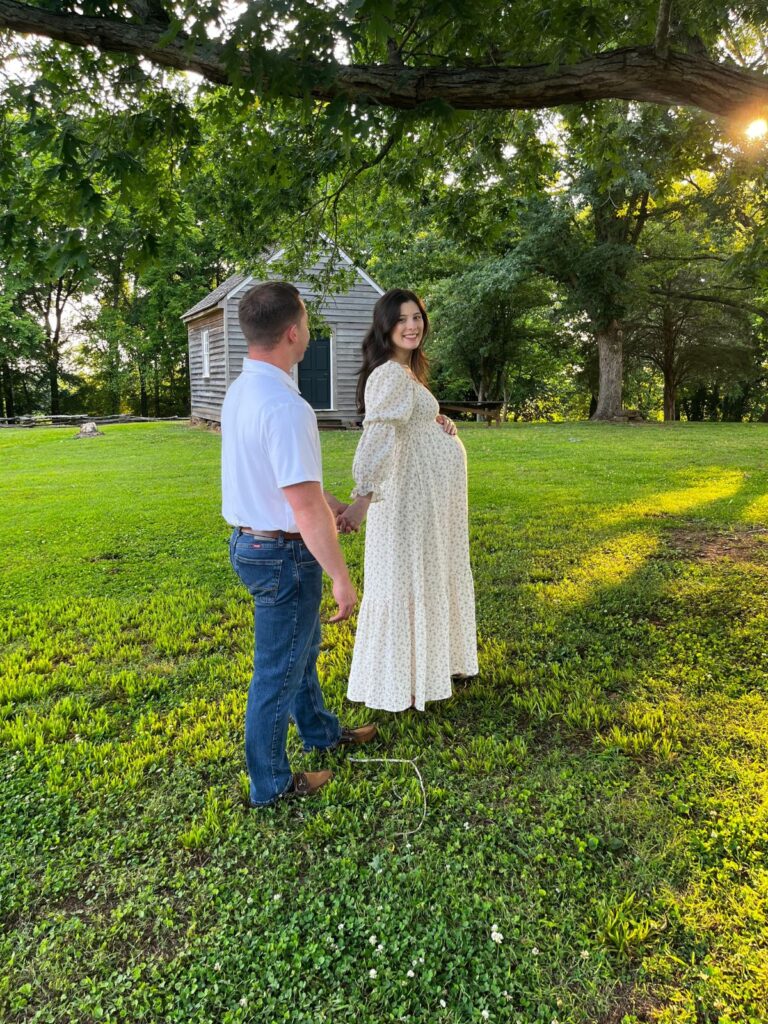
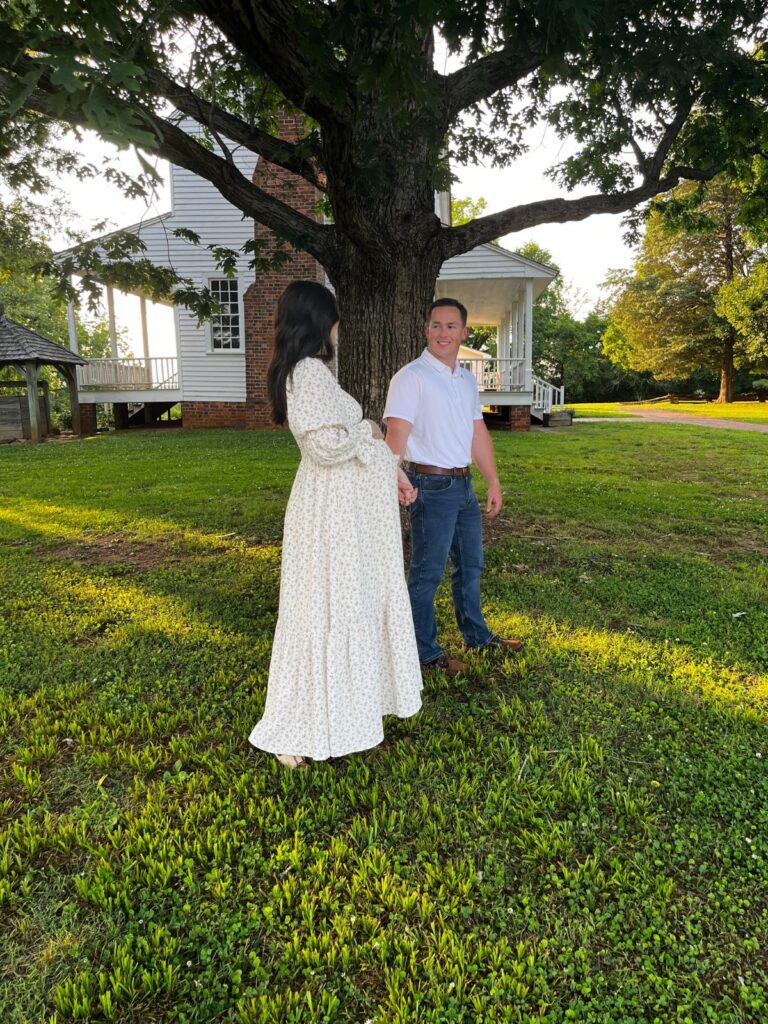
1. Walking Away and Looking Back at the Camera
To recreate this pose, both of you start walking away from the camera while holding hands. You can turn around about halfway, place the hand at the top of your bump, and smile at the camera!
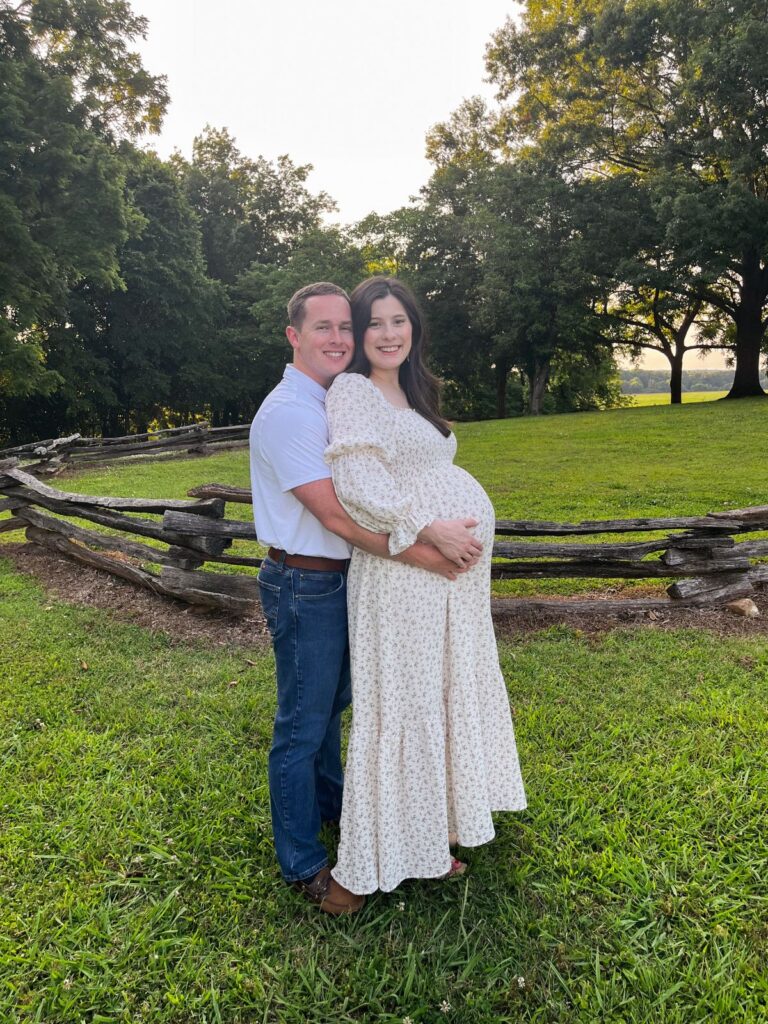
2. Side by Side Smiling at the Camera
Slide your back into the man’s chest and have him put his hand on the lower part of your bump. Put your hand on top of his! Both of you look at the camera and smile.
3. Nose to Nose or Forehead to Forehead
Stand facing each other. It might feel uncomfortable, but put your foreheads completely together and your noses completely together. Both of you smile at each other!
Your hand can rest at the top of your bump and his hand can hold the bottom of the bump.

4. Walking and Looking at Each Other
Have the photographer stand to the side of the both of you “walking” in motion. Both of you look at each other and smile!
5. Classic Smiles
This pose is the most simple, but actually turned out to be one of the best! Stand back to chest and smile directly at the camera. Your hand goes at the top of the bump and his hand goes at the bottom of the bump.

6. Looking at the Bump and Soft Smiles
For this pose, the bump is the main element. Turn to his side and put your hand at the top of the bump. One of his hands goes under the bump and one goes around the back of your waist. Both of you look directly at the bump and smile!

7. Walking Straight Towards the Camera
Both of you walk and face towards the camera holding hands. This pose is easy for the guy! He can just smile regularly at the camera. For you, place your hand on the bump and look at your man smiling.

8. Individual Pictures of the Mom!
Don’t forget to take at least one individual picture of the mom. A classic pose is one hand over and one hand under the bump.

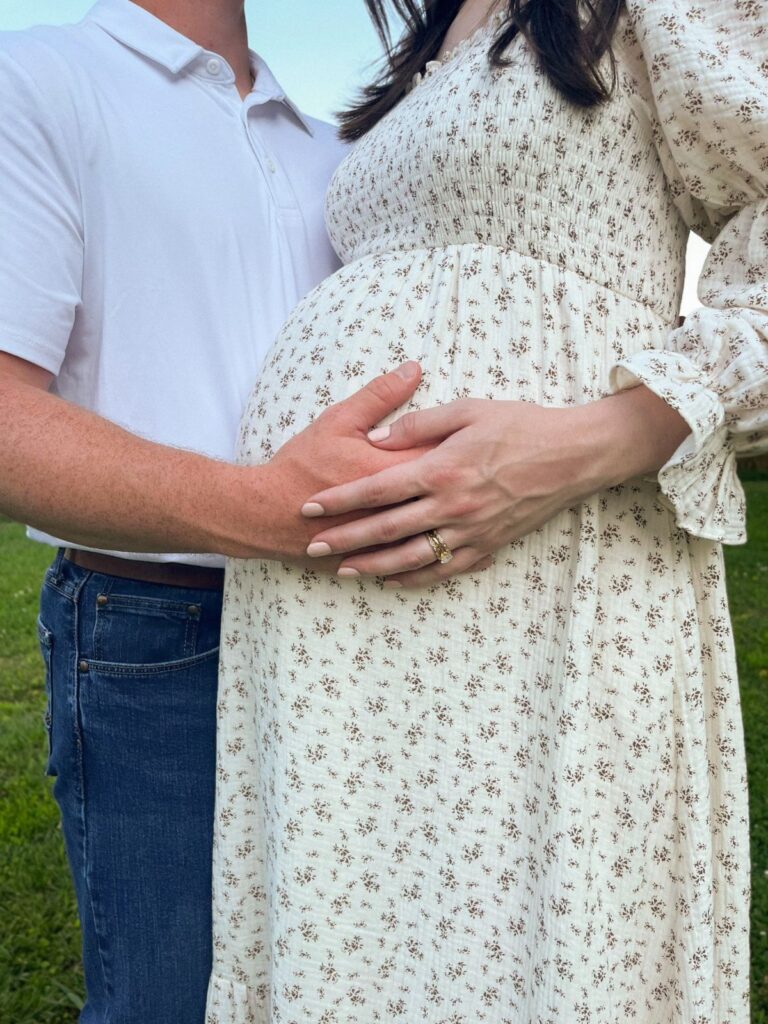
9. Close up Picture of the Bump
Take one photo that shows off the bump and your wedding rings! This is just a sweet photo to have for future memories.
10. Portrait Mode on the iPhone
If you’re using an iPhone for these DIY photos, make sure to take at least one picture in portrait mode. I love how this one turned out!

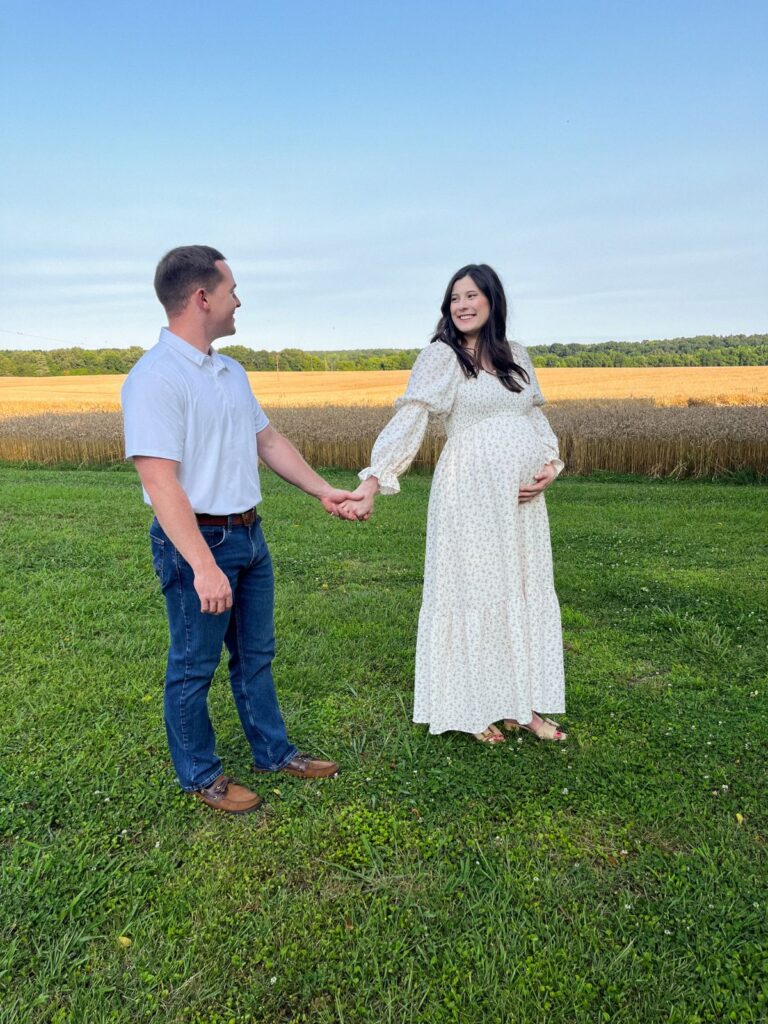
11. Walking in the Field
I love these walking in the field poses! Grab each other’s hands, and have the photographer take some candids while you slowly walk. Both of you can look at each other and smile.
This is also a great pose to take a horizontal picture.

Conclusion
We were so pleased with our DIY maternity poses and hope you found some inspiration for your upcoming maternity photoshoot!